
Table of Contents
Photo by Daniele Levis Pelusi on Unsplash
Introduction
Once reviewed the remote configuration and the native setup, we’ll finish this series by checking the CI/CD pipeline configuration required for test automation. So let’s go!
Quick recap
Automation workflow
Create Firebase ProjectConfigure project by adding an account serviceEnable Cloud Tools ResultUpdate underlying native Android projectConfigure underlying native Android Test Runner- Set up Codemagic pipeline
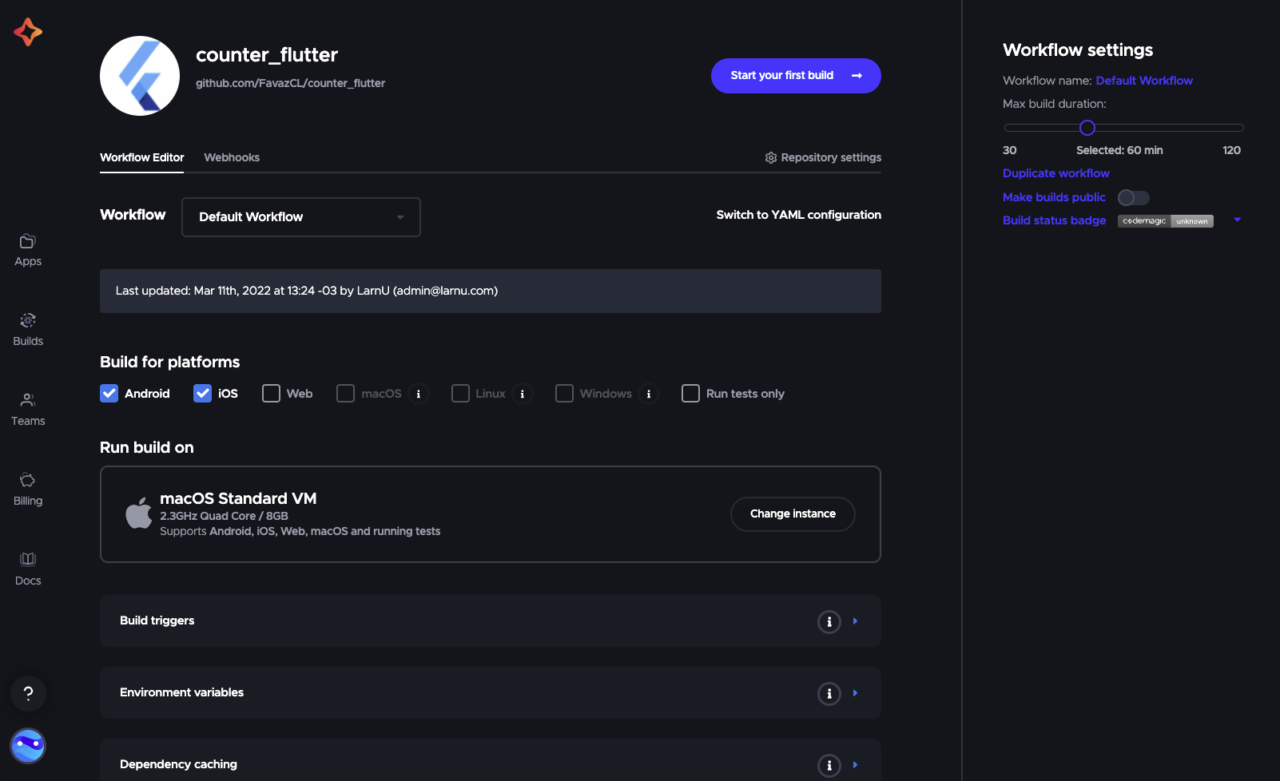
6. Set up Codemagic pipeline
Introduction
Codemagic from Nevercode is a CI/CD tool designed initially for Flutter. Nowadays though, it offers support for almost any native or cross-platform mobile framework as well.
Codemagic automates the process of building, testing and delivering apps. Furthermore, all the build operations take place on their servers, so we don’t need any infrastructure on our side.
Once we register on their site, we can easily link the source code repositories we want to integrate into our pipeline. Futhermore, this tool offers both free and paid solutions, so it’s suitable for a large range of projects.
Building workflows
On Codemagic, build workflows can be configured in 2 ways:
 – Application Not Responding")
- remotely, interacting directly with the editor available on the web
Overview of “codemagic.yaml”
For this project, we’ll use the “codemagic.yaml” file to customize our build mechanism.
When this file is added to our project repository, it gets detected by default, so every time we launch a build then configuration is fetched from it automatically.
The following screenshot shows the complete structure of our configuration file:

Structure of “codemagic.yaml”
The root component of the file is the “workflows” section. A single file can include many flows (for instance, one for Android and another one for iOS), and each one of them can have its own settings.
Specific workflow settings are defined using different headings or subsections, such as:
- general props: sets both name and tools versioning.
- environment: declares secrets or keys required for the build.
- scripts: specifies the step-by-step build process.
- artifacts: lists all the components generated after building (.ipa, .apk)
- publishing: states the channels used to distribute our app.
General props
This block is mainly used for:
- give the workflow a descriptive name
- specify the type of machine we want to use when building
- set the build duration time
Environment
Any credentials, API keys or secrets can be defined here, either as encryped data or plain text (not recommended). Once declared, these values can be used on any section of the file.
Aditionally, variables can be gathered into groups, so we can manage them as a whole. As a result, when importing a group, we’ll get immediate access to all of its values.
For the sample project, we have defined:
- a group named “google_credentials”, holding variables for the GCloud configuration file
- a single variable called “FIREBASE_PROJECT”, with the unique identifier of our Firebase site
Scripts
This section is the core of our build pipeline, since it contains the commands we want to execute in order to build our app.
For instance, if we need to update the project dependencies, we can add the following instruction:
name: Get packages
script: |
   cd . && flutter packages pub get
When defining the build, order is important, since the script blocks are executed sequentially, one after another.
In order to run our integration tests, we must add a script to build a test apk (apart from the standard apk):
name: Create both debug and test APK...
script: |
   set -ex
   cd android
   ./gradlew app:assembleAndroidTest
   ./gradlew app:assembleDebug -Ptarget="$FCI_BUILD_DIR/integration_test/app_test.dart"
After that, we have to include another script so the generated apk is uploaded to Firebase Remote Test Lab:
name: Upload to Firebase...
script: |
   set -ex
   echo $GCLOUD_KEY_FILE | base64 --decode >   ./gcloud_key_file.json
   gcloud auth activate-service-account --key-file=gcloud_key_file.json

   gcloud --quiet config set project $FIREBASE_PROJECT
   gcloud firebase test android run \
      --type instrumentation \
      --app build/app/outputs/apk/debug/app-debug.apk \
      --test build/app/outputs/apk/androidTest/debug/app-debug-androidTest.apk \
      --timeout 5
As shown in the snippet, here we’re using the variables/groups and the apk’s generated on previous step:
- we retrieve the variable $GCLOUD_KEY_FILE, decode its contents and save the result to a local file. When building, this file will be used to activate the service account
- we retrieve the $FIREBASE_PROJECT to set the project identifier
- we specify the apk and the test apk used when running our tests
Artifacts
Nothing fancy here, since it only contains the directory for the output files created after building.
Publishings
Codemagic supports different options when it comes down to distributing the build results.
Apart from email notifications, it also offers webhook compatibility, so it can be connected to messaging apps such as Slack or Discord.
Bonus: robo and instrumentation tests
By slightly changing the build script, we can execute the different types of tests on Firebase Remote Test Lab.
Running instrumentation tests
gcloud firebase test android run \
   --type instrumentation \
   --app build/app/outputs/apk/debug/app-debug.apk \
   --test build/app/outputs/apk/androidTest/debug/app-debug-androidTest.apk \
   --timeout 5m
Running robo tests
gcloud firebase test android run \
   --type robo \
   --app build/app/outputs/apk/debug/app-debug.apk \
   --timeout 5m
Further configuration
The gcloud firebase test command defines optional properties that allow us to add custom tailored customization.
For instance, we can declare the devices we want to use when running our tests by adding:
gcloud firebase test android run \
   --type instrumentation \
   --device=model=NexusLowRes \
   --...
A complete reference for this command and all its properties can be found here.
Summary
On this series, we have defined an automation workflow using free tools such as Firebase and Codemagic. As you can see, is not as complicated as it may seemed at the beginning.
Moreover, automation has a lot of advantages over manual testing, so I think is “the way” to go. Give it a try and feel free to share your thoughts and results!
Sample project
As usual, you can check out the following repository for the source code:
https://github.com/begomez/Flutter-Test-Automation
Write you next time!
